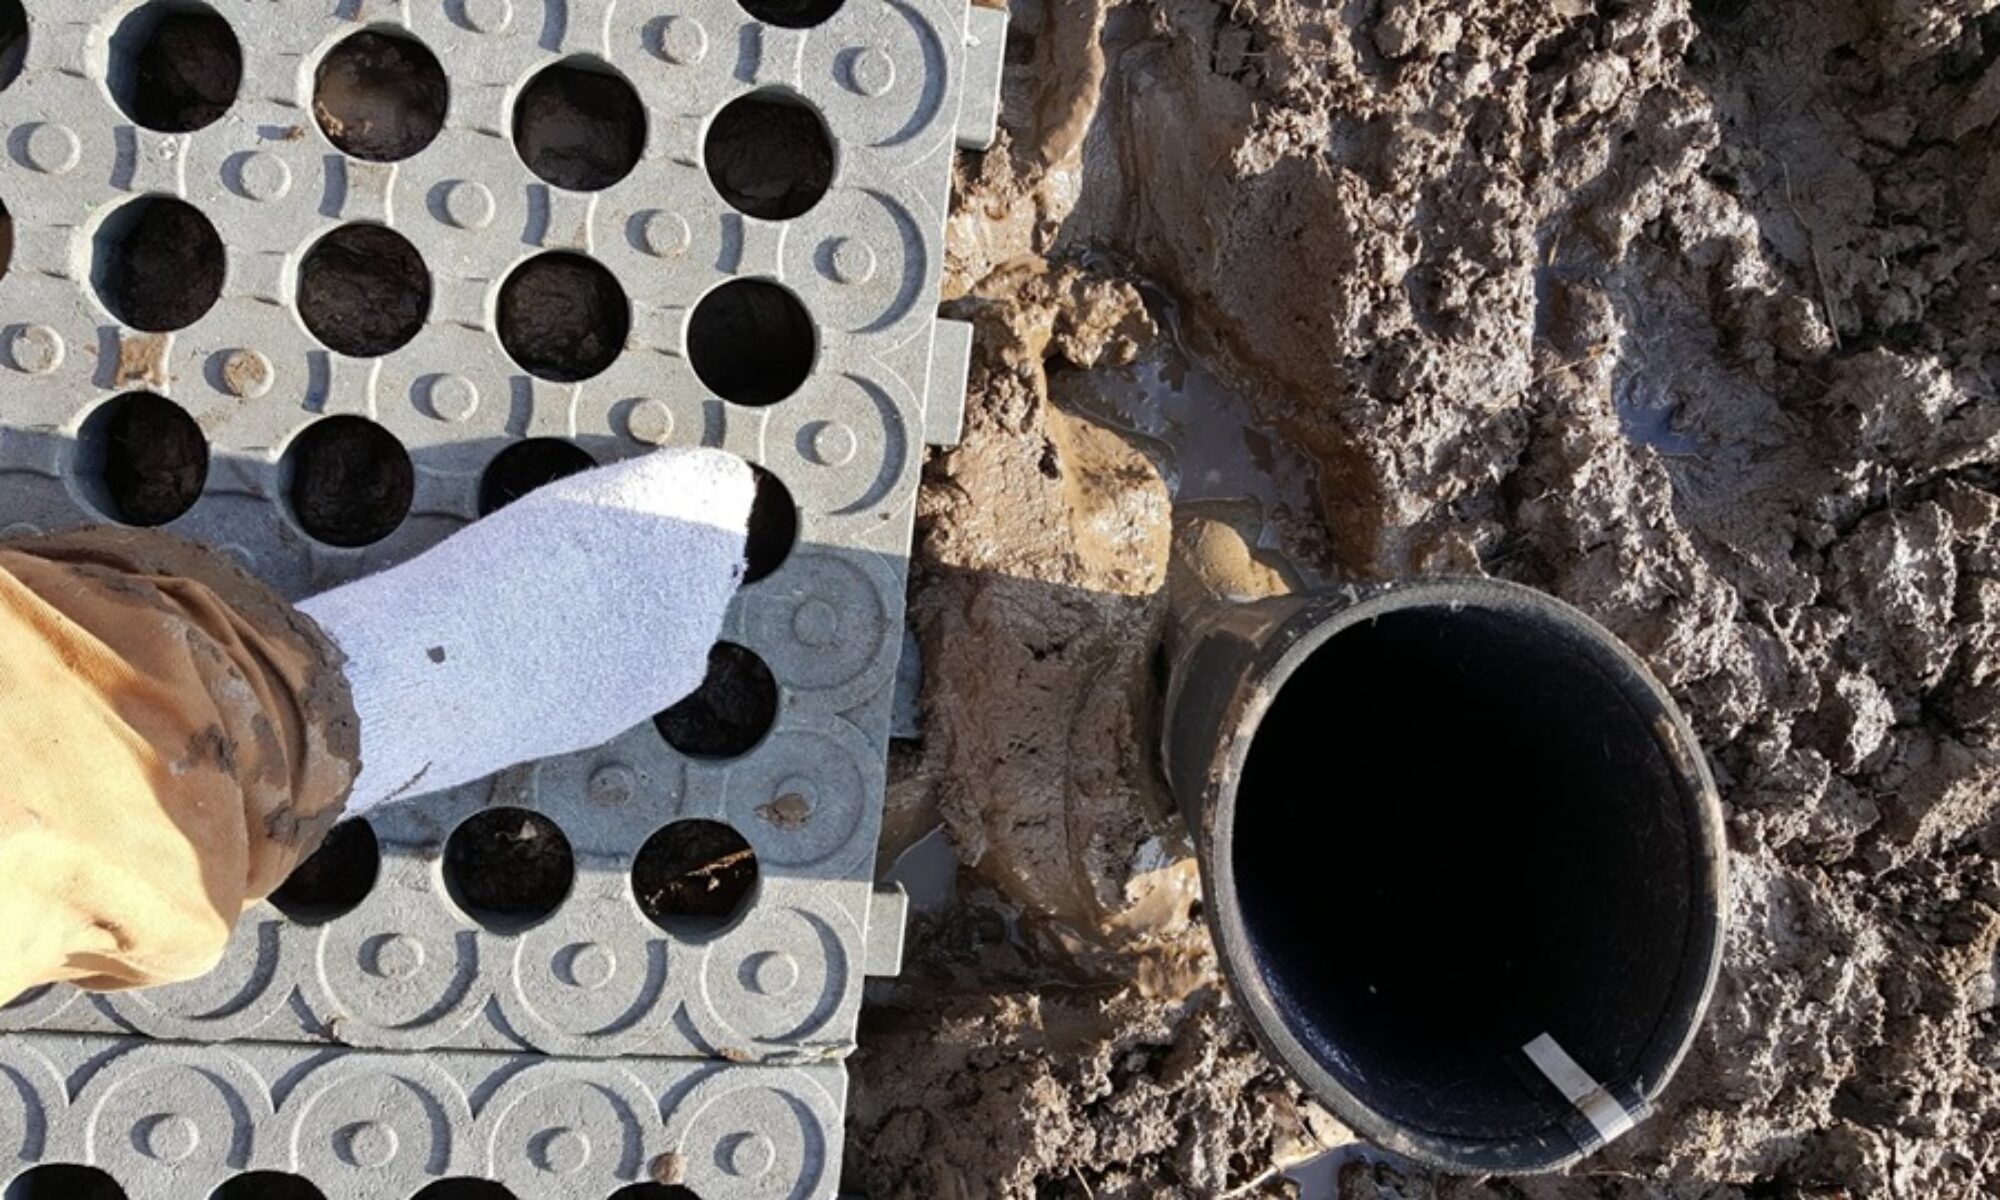
There are 2 patterns for installation. The strongest is the brick layers pattern where you stagger the rows. Staggering makes the seams stronger and less likely to pull apart.

We get it though having them all lined up is pretty! If you do this method it’s best to fill the holes with gravel or sand to help hold it all together.

You know what’s best about using Mud Slabs?
NO GROUND PREP
That’s right, you can lay then right on top of boot sucking mud.

Our only recommendation is to smooth out the area. Get rid of rocks, deep hoof ruts or other uneven areas. Using a hand tamp to smash down the high bits works great. Relax, install is easy and fast! 1 person job.

Mud Slabs allow for water to penetrate through and protects the ground from eroding away. Toss some grass seed in the holes or let nature take it’s course and you’ll have grassy paddocks again instead of mud pits!

On a slope? No problem use sand or gravel to top dress the mats for added traction!

If you don’t want grass to return you can do what this customer did. They laid down landscape fabric first and back filled the holes with gravel.

Mud Slabs won’t sink but livestock or mother nature will bring mud up onto the slabs. Keeping manure and tracked up mud off the slabs will keep them happy and usable for years to come.


